
聖誕節是我每年最期待的節日。不僅僅是因為在美國有連假,還有各種聖誕音樂,佈置,美食,再加上白雪紛飛和知道可以馬上回台灣與家人團聚的心情,都是讓我愛聖誕節的原因。每年年底我都會在家辦個聖誕主題趴與好友團聚慶祝這個美好的節日。因為馬上就要搬離芝加哥,去年是我最後一次主辦這個聚會,決定自己製做果醬送給朋友做為道別禮物。沒想到果醬裡面雖有一半是糖(是的沒錯!!!),用新鮮材料製成的果醬還是只能在冰箱裡面保存一到三個禮拜。為了能夠加長保存期限並且不外加防腐劑,我從網路上學到了在自己家的廚房封罐保存的方法。因為要搬家了不想另外購買封罐工具,從 the kitchen 網站上學到了如何利用鋁箔紙和橡皮筋取代專業的工具。
我用了草莓以及覆盆莓 - 用新鮮草莓做的果醬會比較稀(如不另加入果膠),像糖漿一樣。用覆盆莓做的果醬比較像一般市面上銷售的口感(但需要煮滾較久)。以下是我用的食譜以及再自家封罐的方法與大家分享!
Everyone around me knows how much I love Christmas ❤︎ ❤︎ ❤︎ I am one of those few people who are not bothered by Christmas music on radios in November :D Every year I host a Christmas friendsgiving party to celebrate my favorite holiday with some great friends - it reminds me how lucky I am to have these people in my life when I am half a world away from home. Last year was my last time to host this party before I move 😭. I decided to try making jam for the first time as parting gifts. Little did I know....even though half of the ingredients for jam is sugar (!!!) , it can only stay fresh in the fridge for 1-3 weeks. In order to prolong the expiration date without using any additives, I learned to can jars using tools we normally have in the Kitchen. (Thank you the kitchen !)
I used both strawberries and raspberries. Fresh strawberry jam is much more watery (like strawberry syrup) without using pectin, while I was able to achieve thick gel-like jam when using raspberries (I just had to boil it for a lot longer than what most recipes call for). Below is the recipe and home canning process I used, enjoy!
工具 | TOOL
- 不鏽鋼夾子
Tongs - 橡皮筋
Rubber bands - 錫箔紙
Aluminium foil - 大鋼鍋 x 2
Large pot x 2 (big enough to fit all your jars) - 果汁機
Blender - 玻璃罐子 (要先洗過)
Jars (Pre-washed using soap)
原料 | INGREDIENTS
- 覆盆莓/草莓 x 四杯 (500克)
Raspberry/Strawberry x 4 Cups - 糖 x 四杯 (800克)
Sugar x 4 Cups - 檸檬 (可有可無) x 1
Lemon x 1 (optional)
小撇步 | TIPS & TRICKS
- 在做果醬之前將一個盤子或數個湯匙先放入冷凍庫。果醬煮沸之後放一點到冷凍過的盤子/湯匙上,如果成膠狀便代表果醬已經可以裝罐,若仍是稀稀的便繼續煮沸,每隔三分鐘檢查一次。
Freeze a plate or some spoons prior to making jam. It is a great way to test whether the jam is ready by leaving some boiling jam on the plate/spoon - if it becomes gel-like then its ready for canning. If not, keep boiling and check again in 3 minutes. (This only worked with raspberry jam for me, not strawberry) - 如果你不喜歡果醬裡有覆盆莓的籽,可以在把莓果打成泥之後用濾網把籽濾掉再去煮。這邊需要花多一點的時間才不會浪費掉很多寶貴的果汁,畢竟覆盆莓是有點而貴的水果 ;-p
If you don't like to taste raspberry seeds in your jam, you can use a sifter to separate them after you puree all the berries. It just takes a lot of time to not waste any of its juice ;-p plus, those seeds add some good texture to the jam in my opinion : ) - 如果你有夠大的蒸盤也可以用來分離你的罐子跟鍋底 (要確定每一個罐子都不會碰到鍋底喔!)
If you have a steaming tray big enough for your pot, it can also be used as a canning rack. - 放檸檬的作用是讓果醬比較不會死甜,但若不喜歡可以不用加。我覺得再加一些檸檬皮屑會更好!
Adding lemon juice is to balance out the sweetness of sugar. I think some lemon zest could could give it even more layers of flavors!
DIY Canning Tools [自製封罐工具]


1. 把數個橡皮筋綁在不鏽鋼夾子的兩頭,這樣把罐子從滾水裡拿出時會比較安全抓得比較緊。
Wrap rubber bands around the grabbing ends of the tongs to allow better grips when lifting jars out of boiling water.
2. 把數片錫箔紙揉成繩子狀 ( 我用了六片),再將繩子接在一起成為一個比鍋子直徑小一些的圓形 (不要做得太小不然你的罐子會碰到鍋底)。在製作一些錫箔紙繩把圓形中的空間補成格子狀 - 格子中間的空間必須比你的罐子小。這樣就完成自製的架子了!
Roll up pieces of aluminium foil to make a couple of ropes ( I used 6 pieces ). Crimp the ends together to form a circle just below the diameter of your pot ( make sure its not too small so your jars are not touching the bottom of the pot ). Make more foil ropes to create a grid pattern within the circle ( space of each grid should be smaller than the diameter of your jars). You've completed your DIY canning rack!
Homemade Jam Recipe + Home Canning Process [自製果醬食譜+封罐過程]
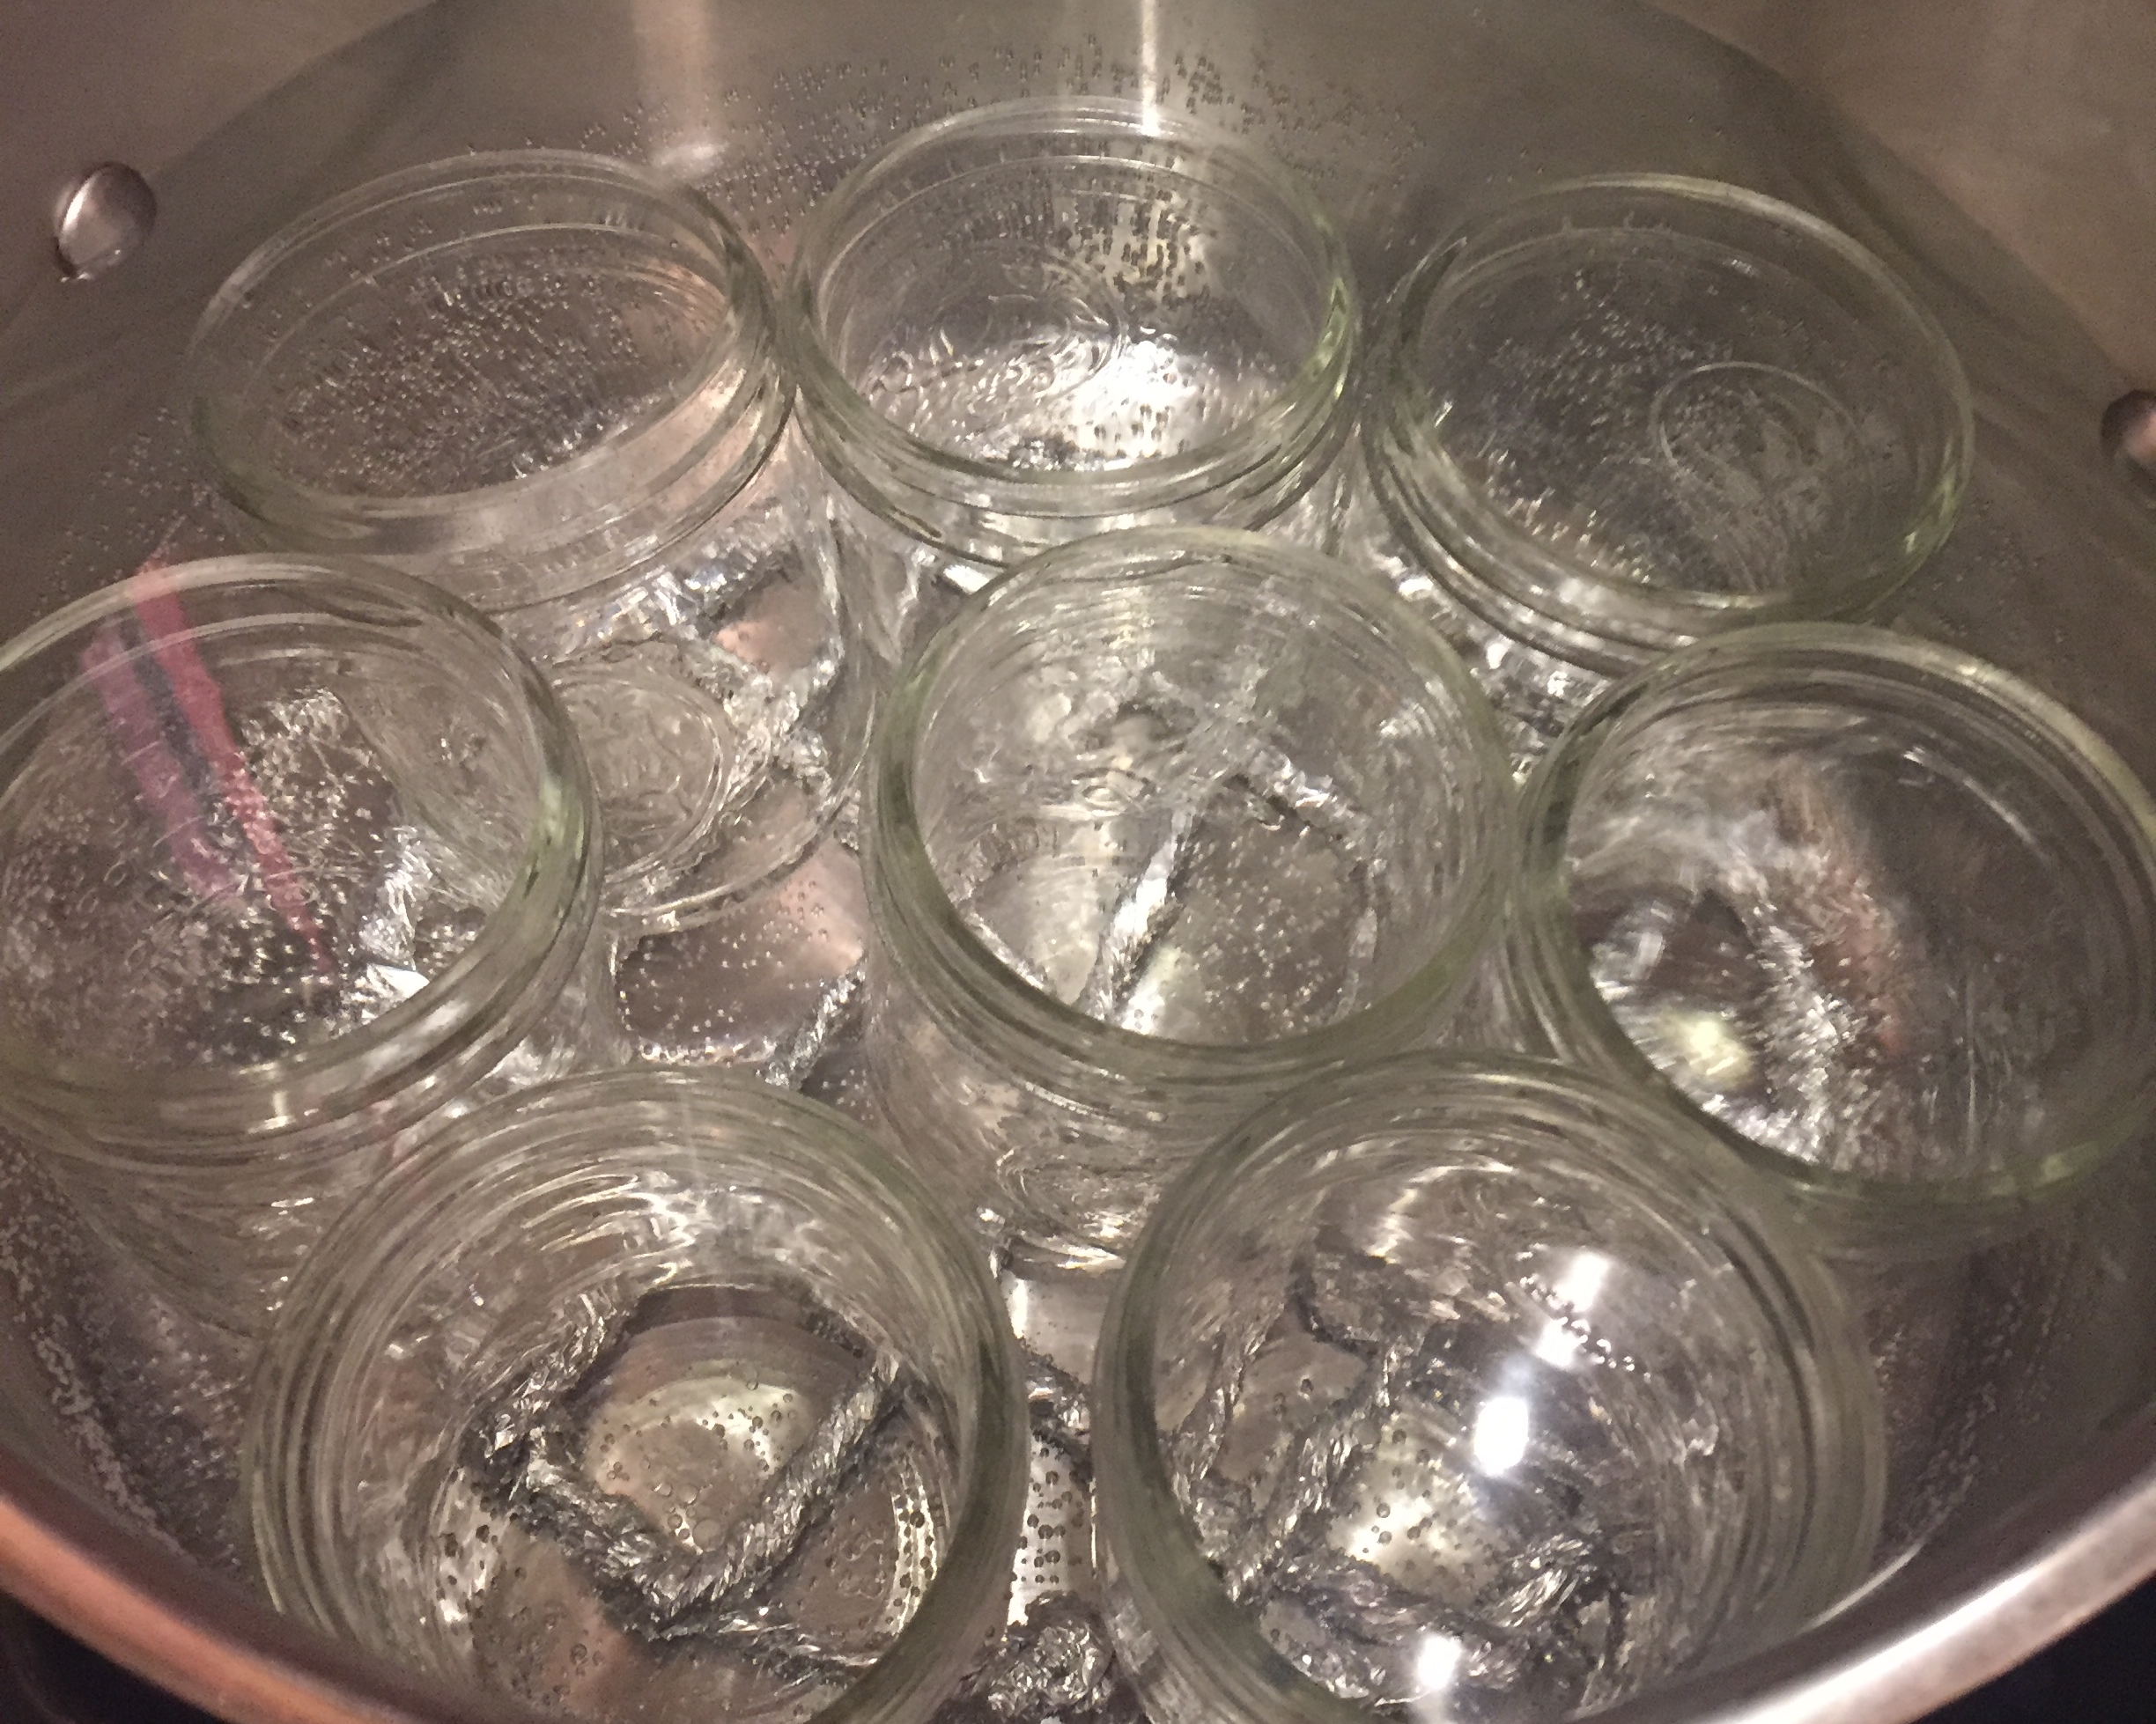
1. 將用肥皂清洗過的罐子放入鍋子中煮熱 (不要滾) 以維持罐子的溫度,這是為了要防止玻璃罐子在滾燙的果醬倒入時破裂。要記得把罐子放在架子上喔!
Heat up pre-washed jars in simmering water (with canning rack) . This is to avoid cracking when pouring boiling jam in the jars.
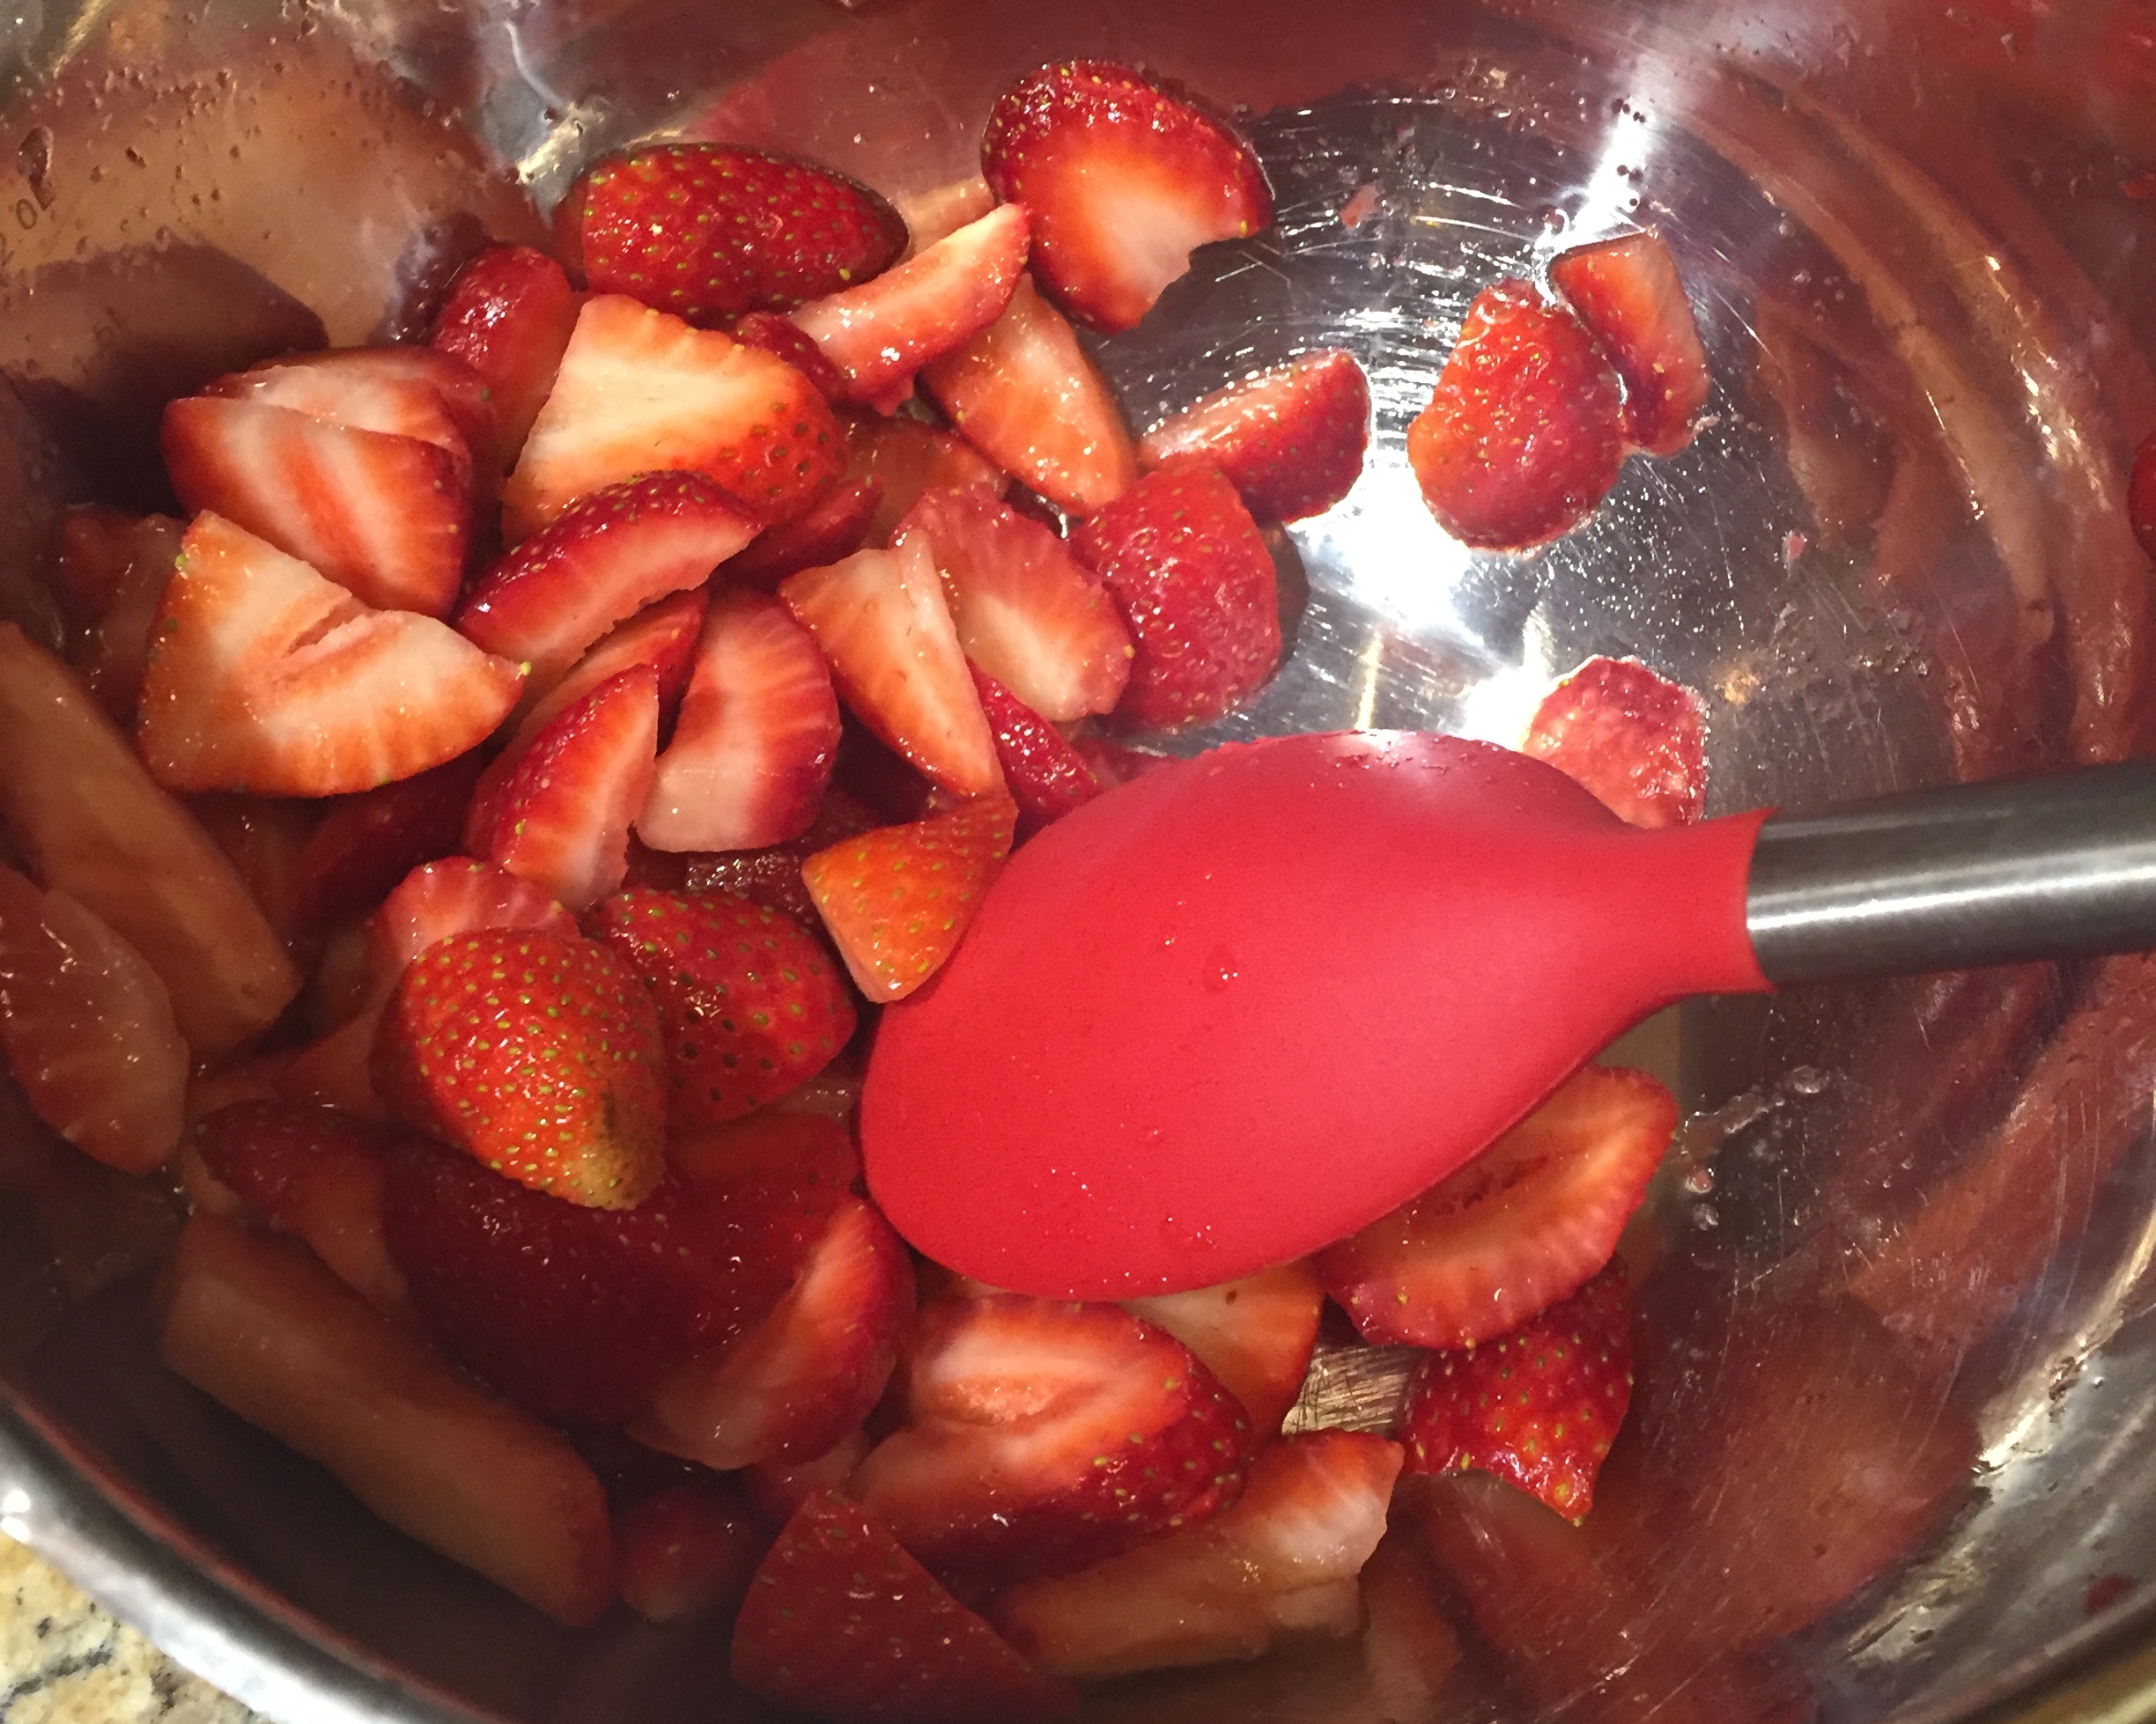
2. 準備莓果 (先沖洗過,如果你的果汁機比較不鋒利可先將草莓先切成小塊)。
Prep berries (rinse & cut if necessary)
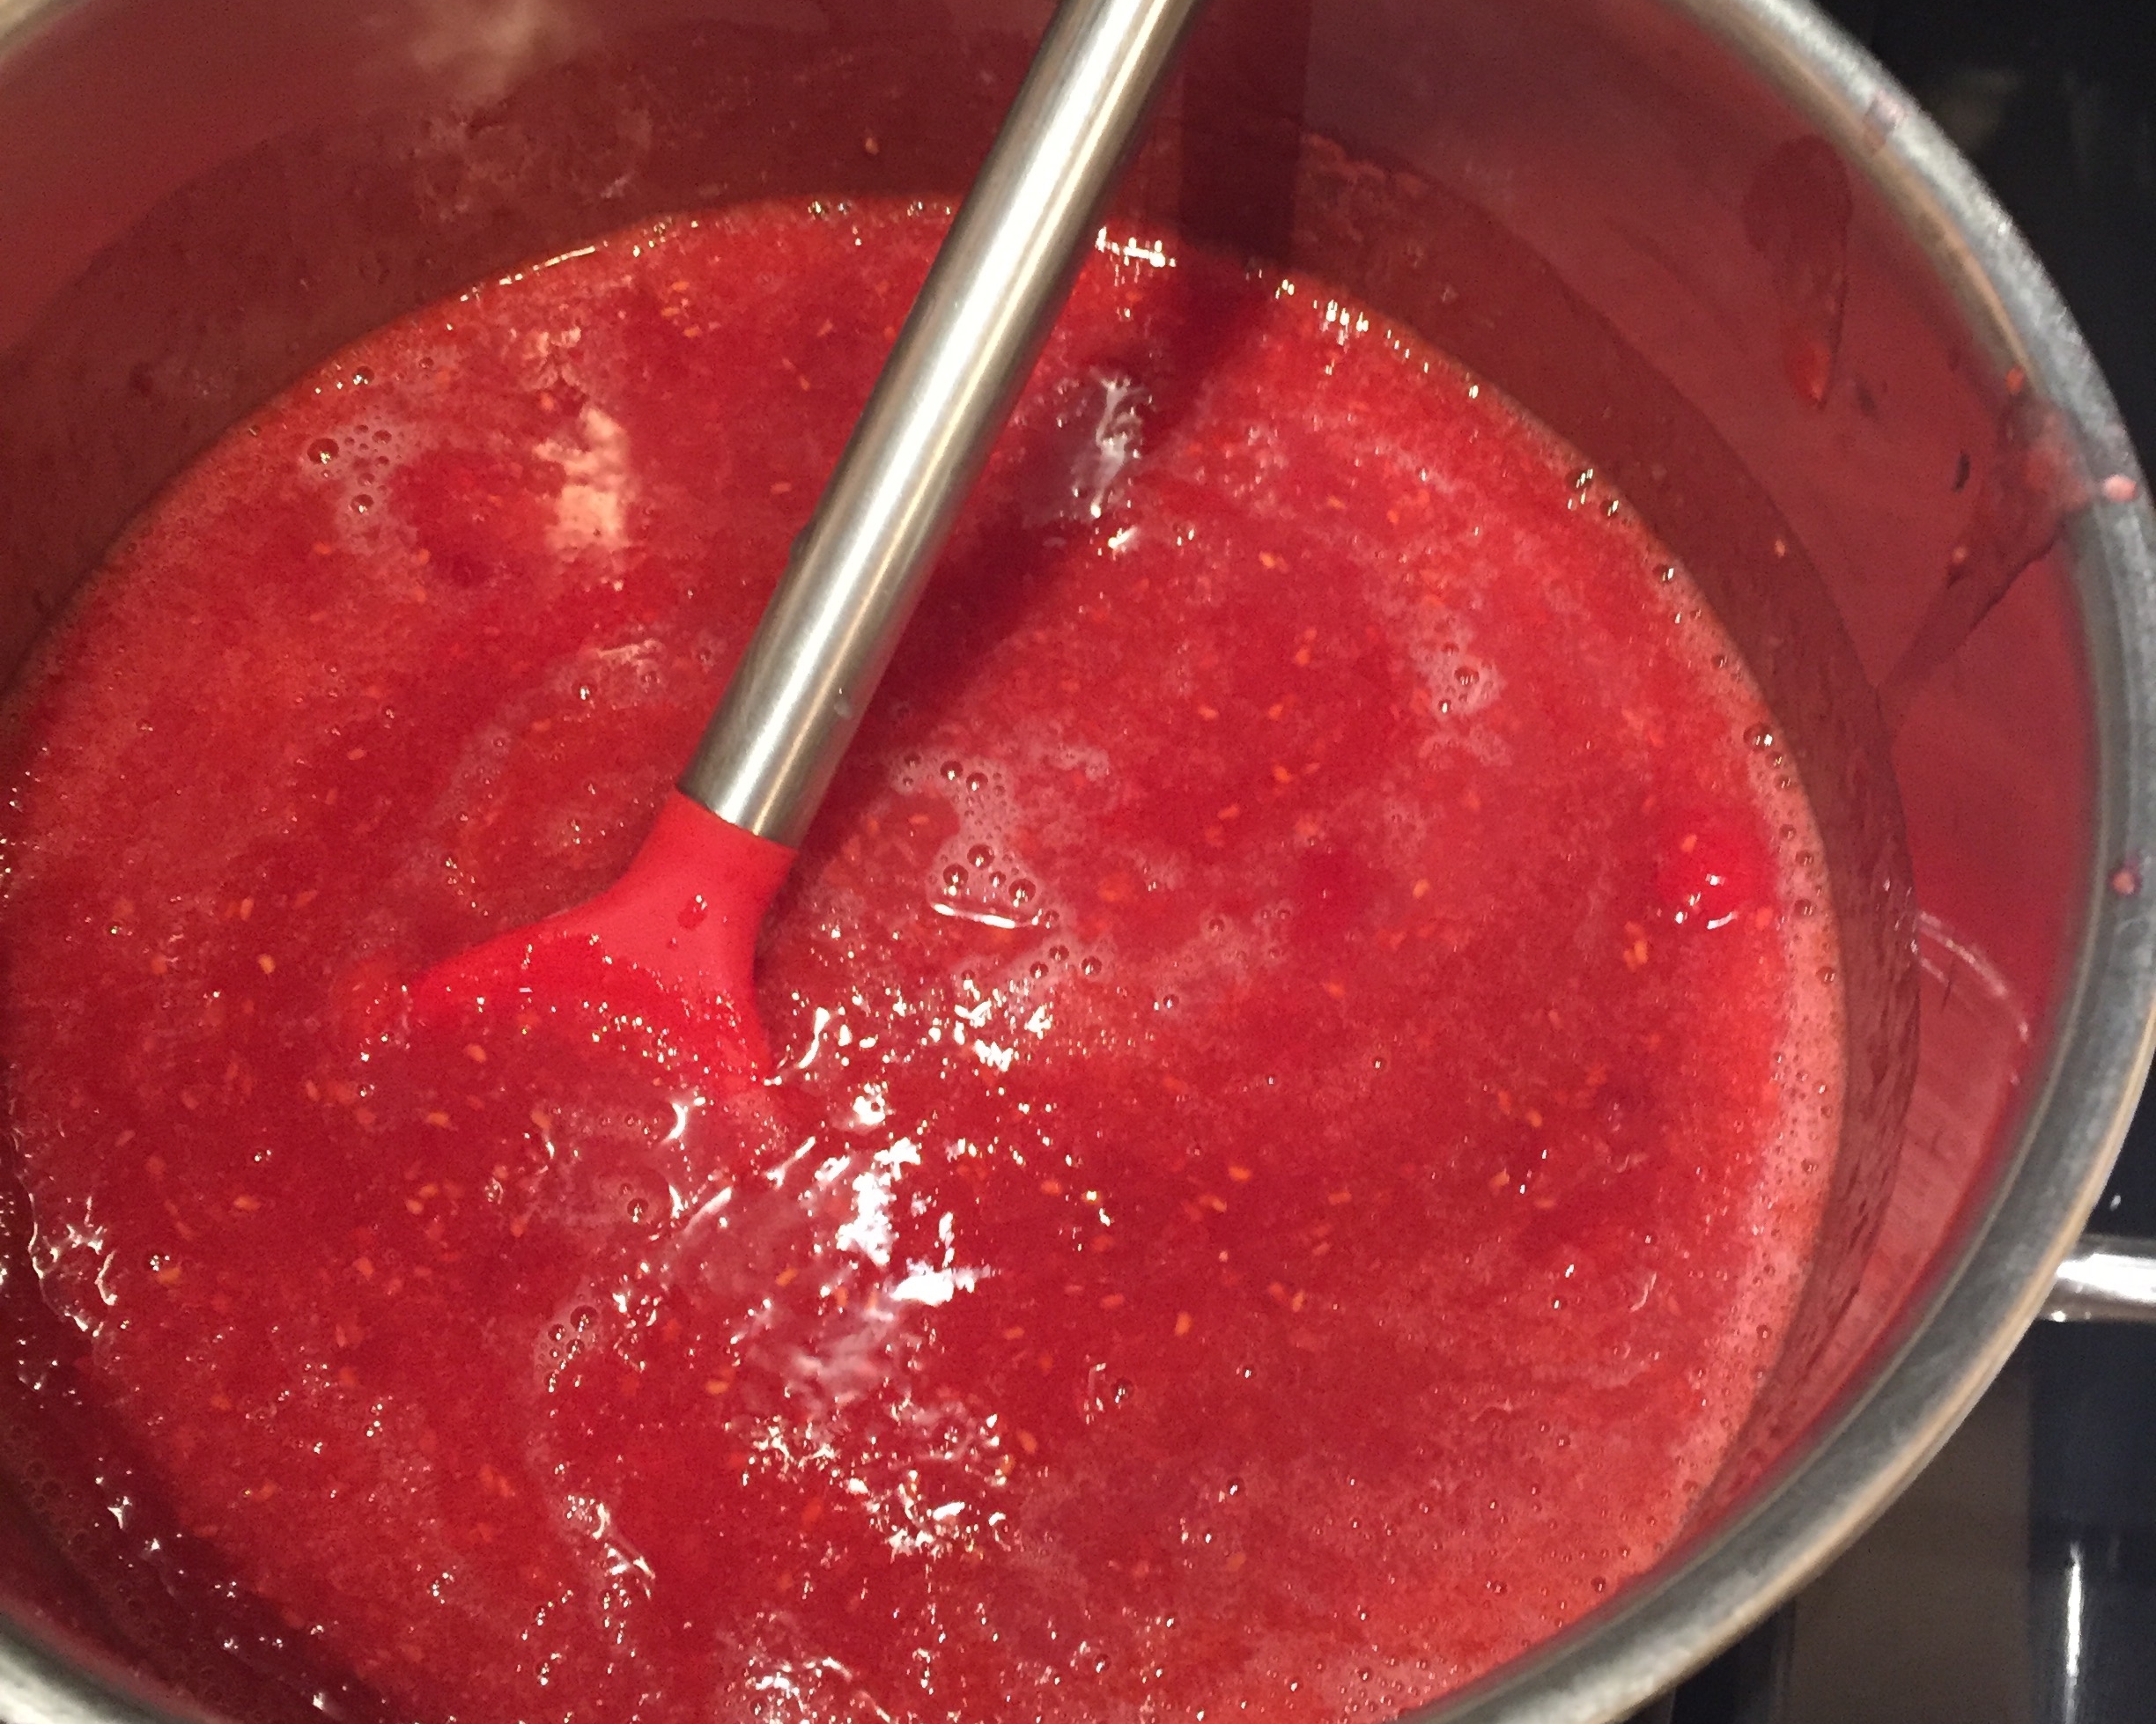
3. 將莓果放入果汁機打成泥,若不喜歡有果肉的果醬可以打久一點。
Blend berries to your desire consistency (I like to have some chunks in mine)

4. 加入糖 (如有需要也是在此時加入檸檬汁/屑)。
Add sugar and lemon juice/zest if desired
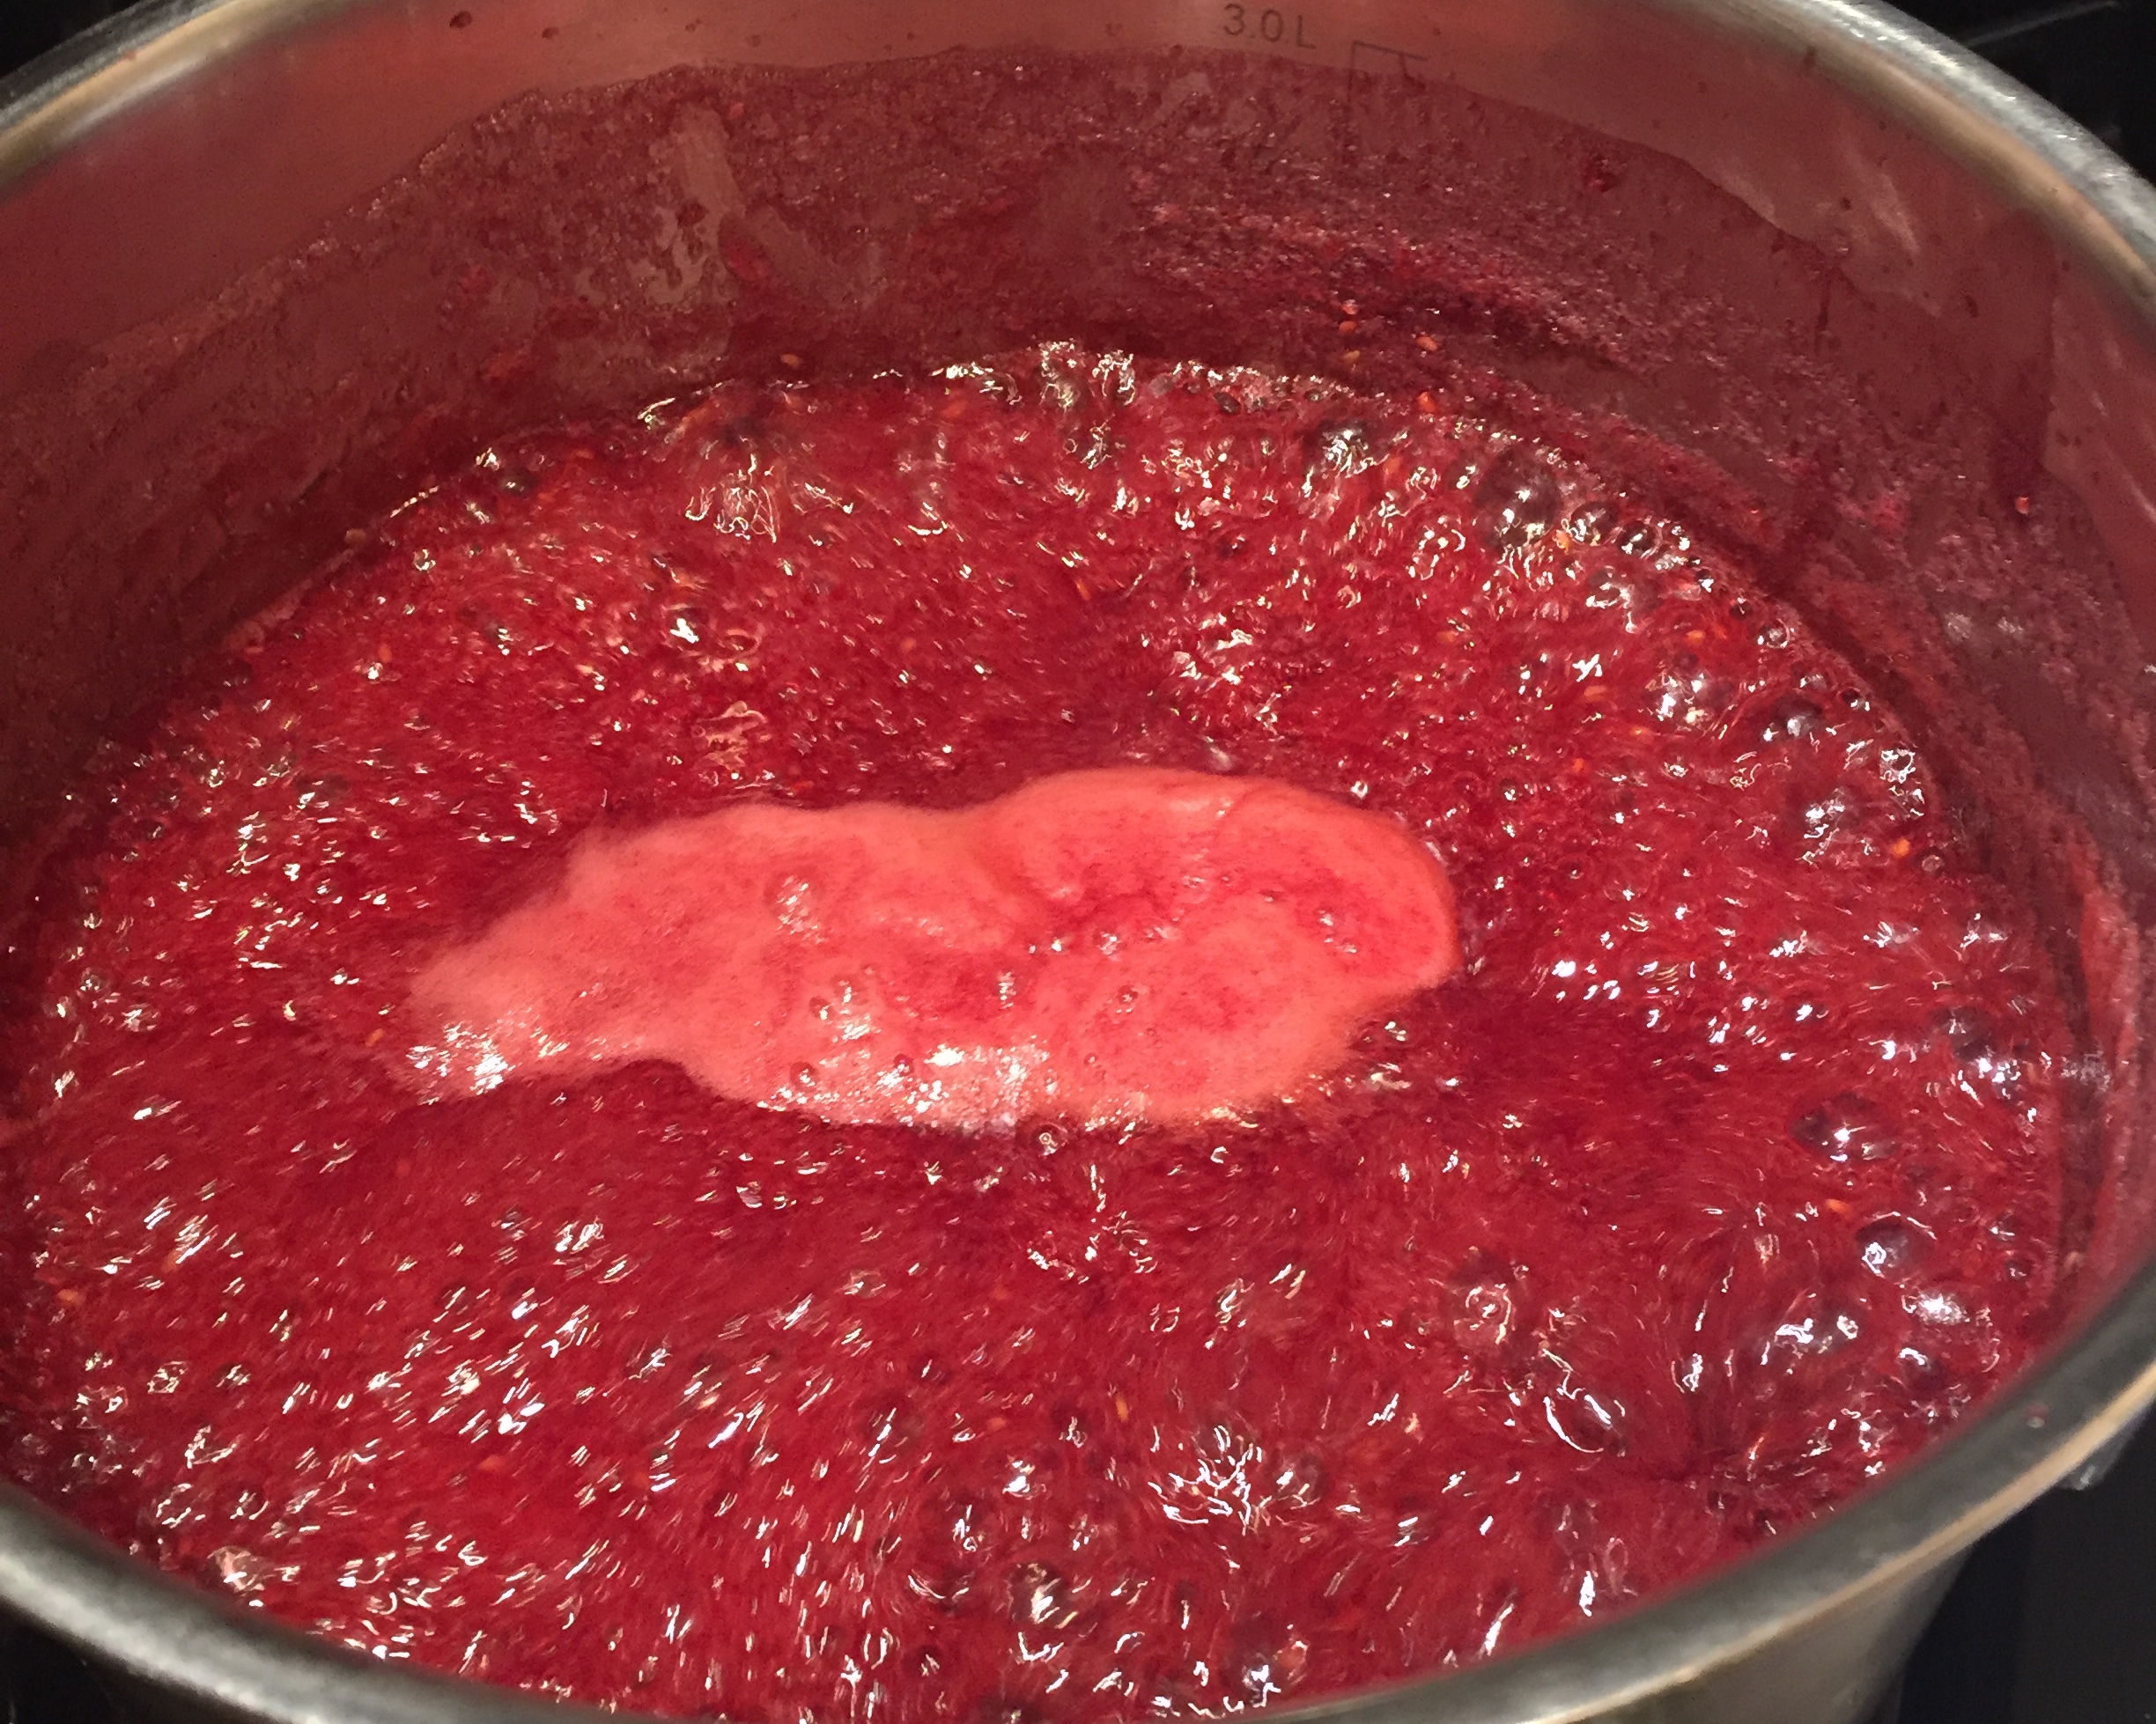
5. 煮到大滾 (中至大火) 後繼續煮10分鐘,要一直攪拌以免黏鍋。
Bring to boil then boil rapidly for 10 minutes (stir constantly to avoid sticking)
6. 每三分鐘用冰凍過的盤子或湯匙來檢驗果醬是否成型 (我的覆盆莓果醬總共煮了將近25分鐘,草莓果醬煮了大約半小時)。
Check if its ready with a chilled spoon or plate every 3 minutes. (I ended up boiling my raspberry batch for almost 25 minutes)

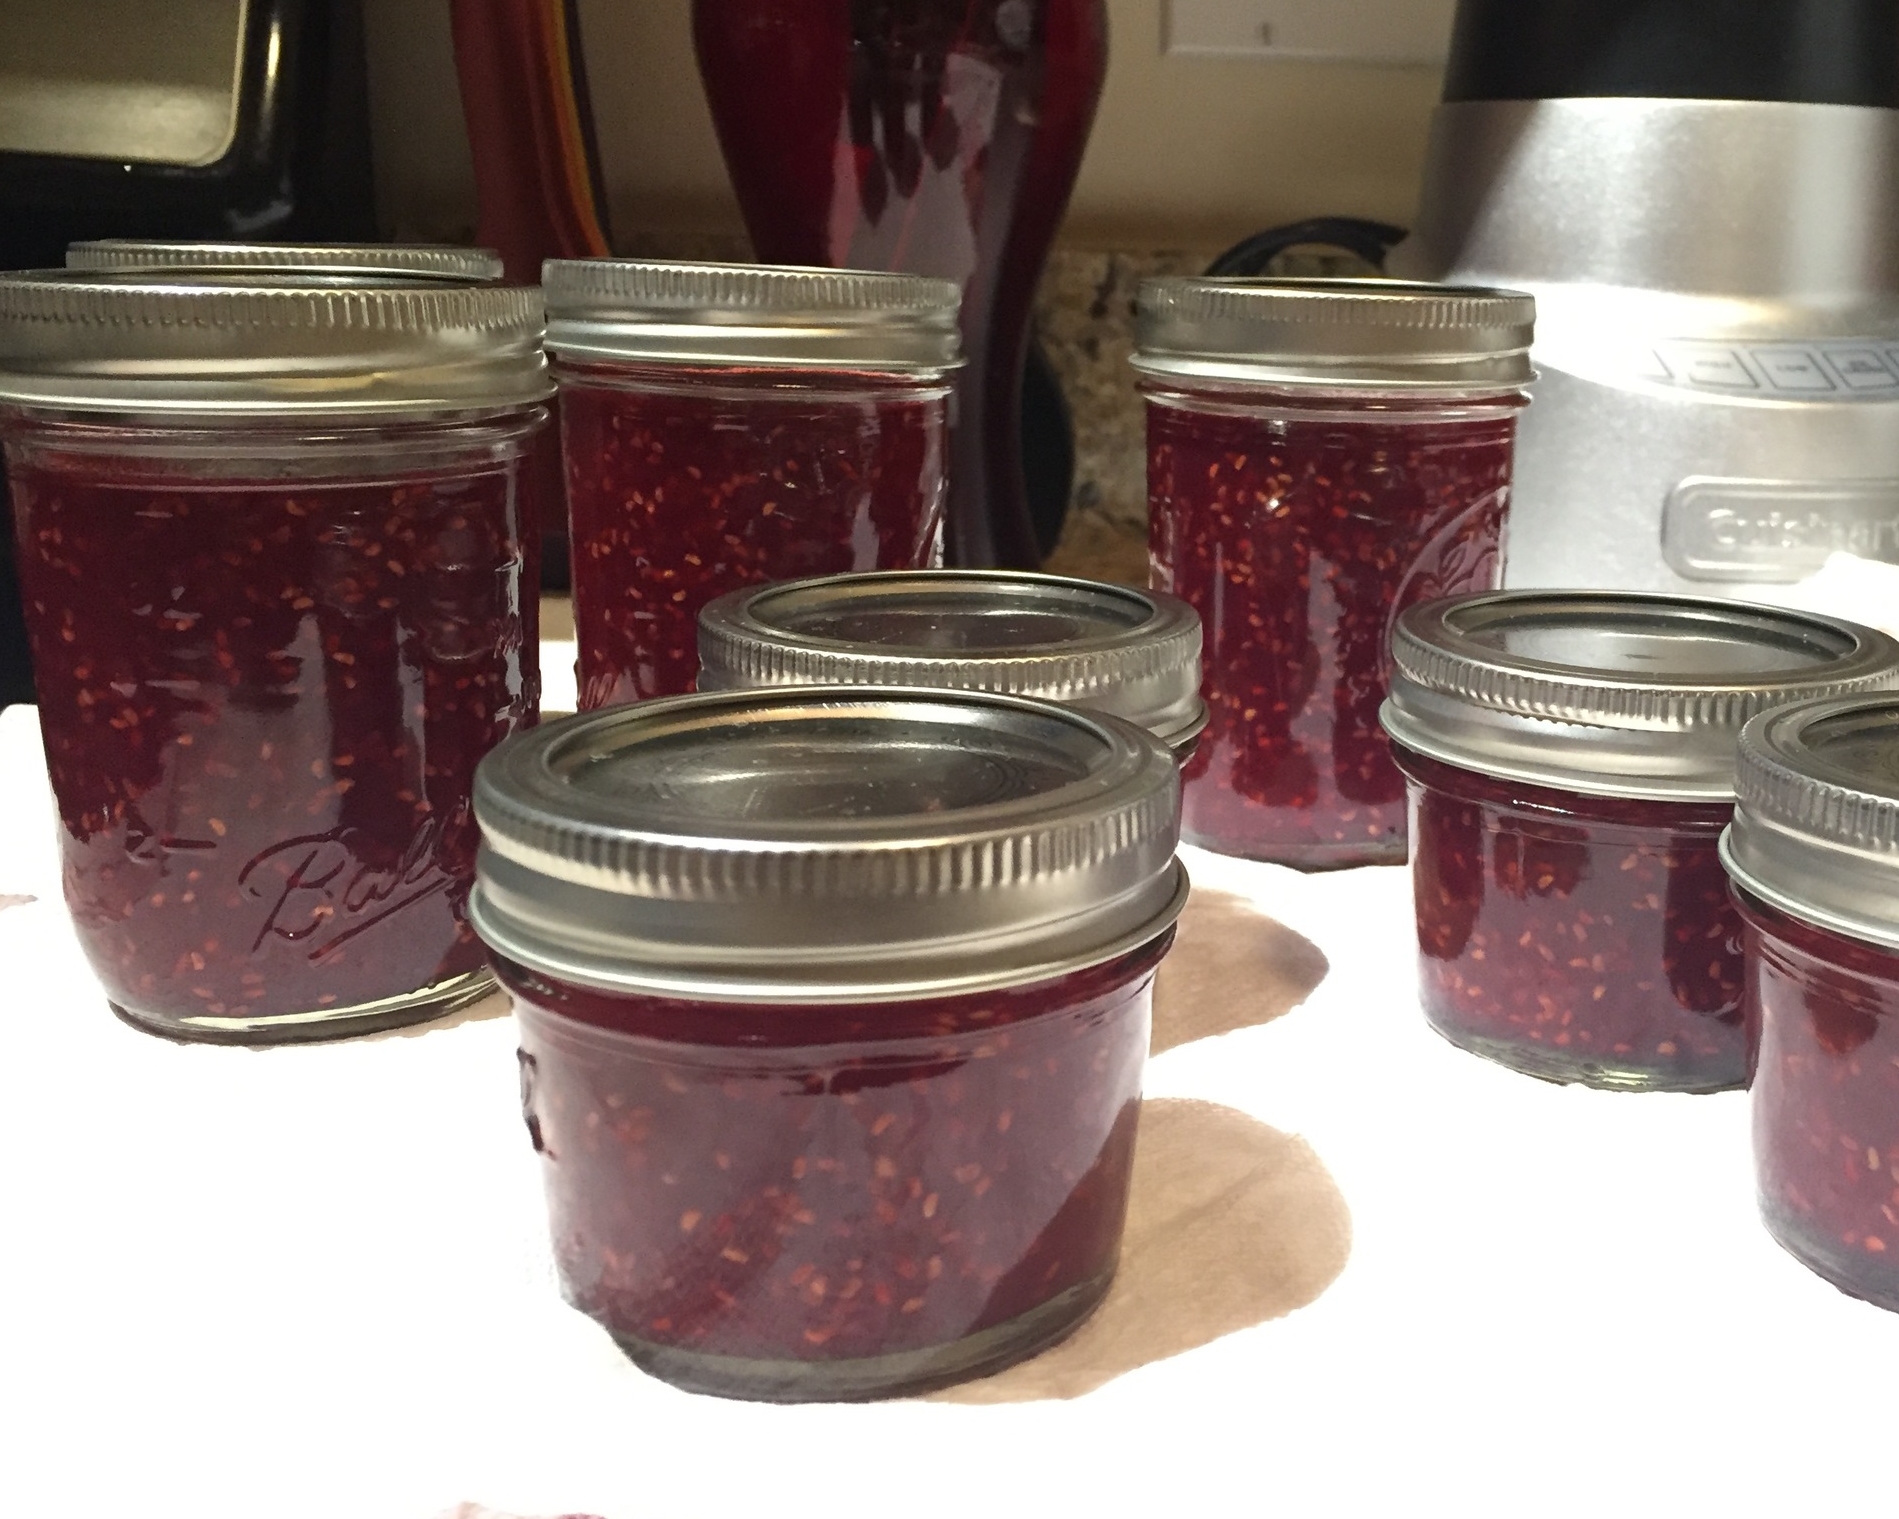
7. 將煮好的果醬放入還是溫熱的罐子(要記得先擦乾),果醬很燙要小心! *** 請注意不要將果醬裝的太滿以免封罐時溢出,留大約1/4吋空間 ***
Pour jam into warm jars (be sure to wipe dry). Jam is piping hot at this point - be careful! *** Make sure to leave about 1/4 inch of space between the jar and jam for proper headspace during the canning process. ***
8. 把罐口用乾淨的濕布擦拭乾淨後蓋上蓋子 (不要轉的太緊)。
Clean jar rim using a damp cloth to remove any residue, then apply jar lids. (do not over-tighten the lids)
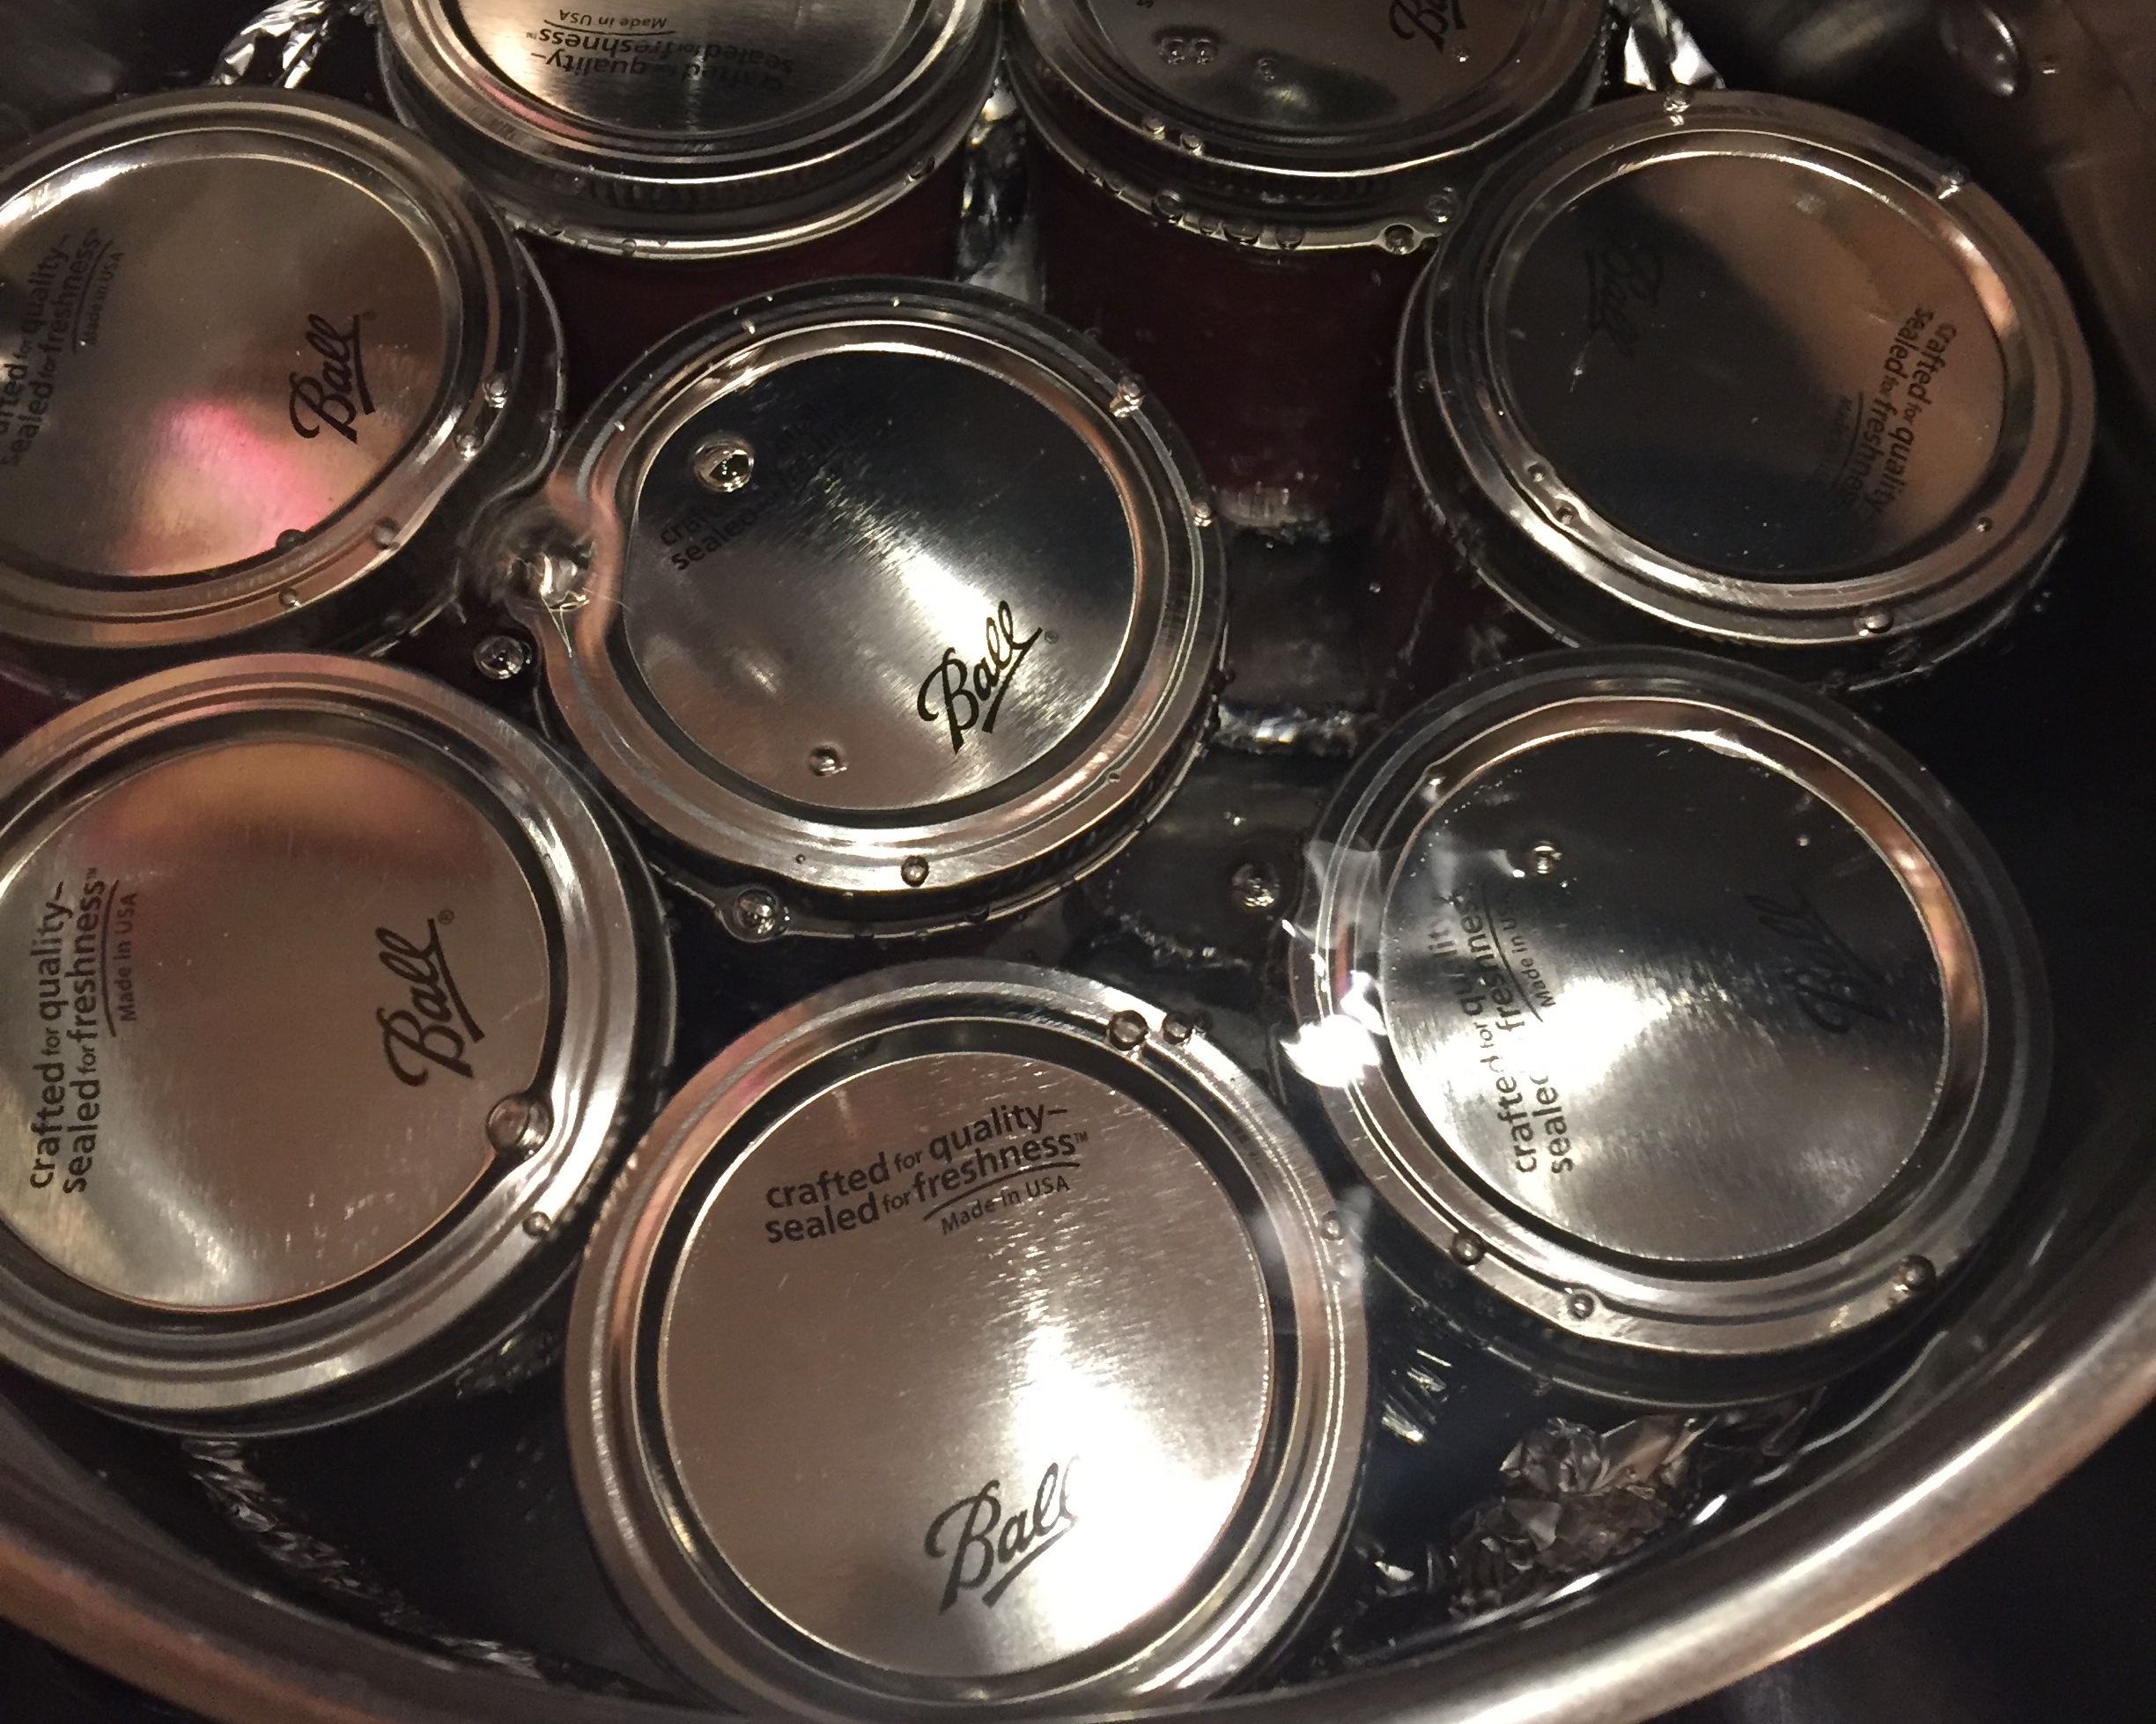
9. 將封好的罐子放入煮沸的水中 (要記得放架子來增加熱對流現象,並且避免罐子直接碰到火熱的鍋底而破裂)。
Place jars on top of the canning tray in boiling water to allow heat circulation and avoid cracking jars during the canning process.
10. 蓋上鍋蓋以滾水煮10分鐘。
Cover pot and boil for 10 minutes.
11. 煮好後放涼,24小時之內不要移動罐子也不要去按蓋子。放涼之後用手指按壓罐蓋,若封罐成功蓋子是不會上下移動的。
Leave jars on counter to cool overnight - do not move jars or lids for 24 hours. ( Lids are not completely sealed at this point ) Once its completely cooled, press on jar lids to check if its sealed properly.
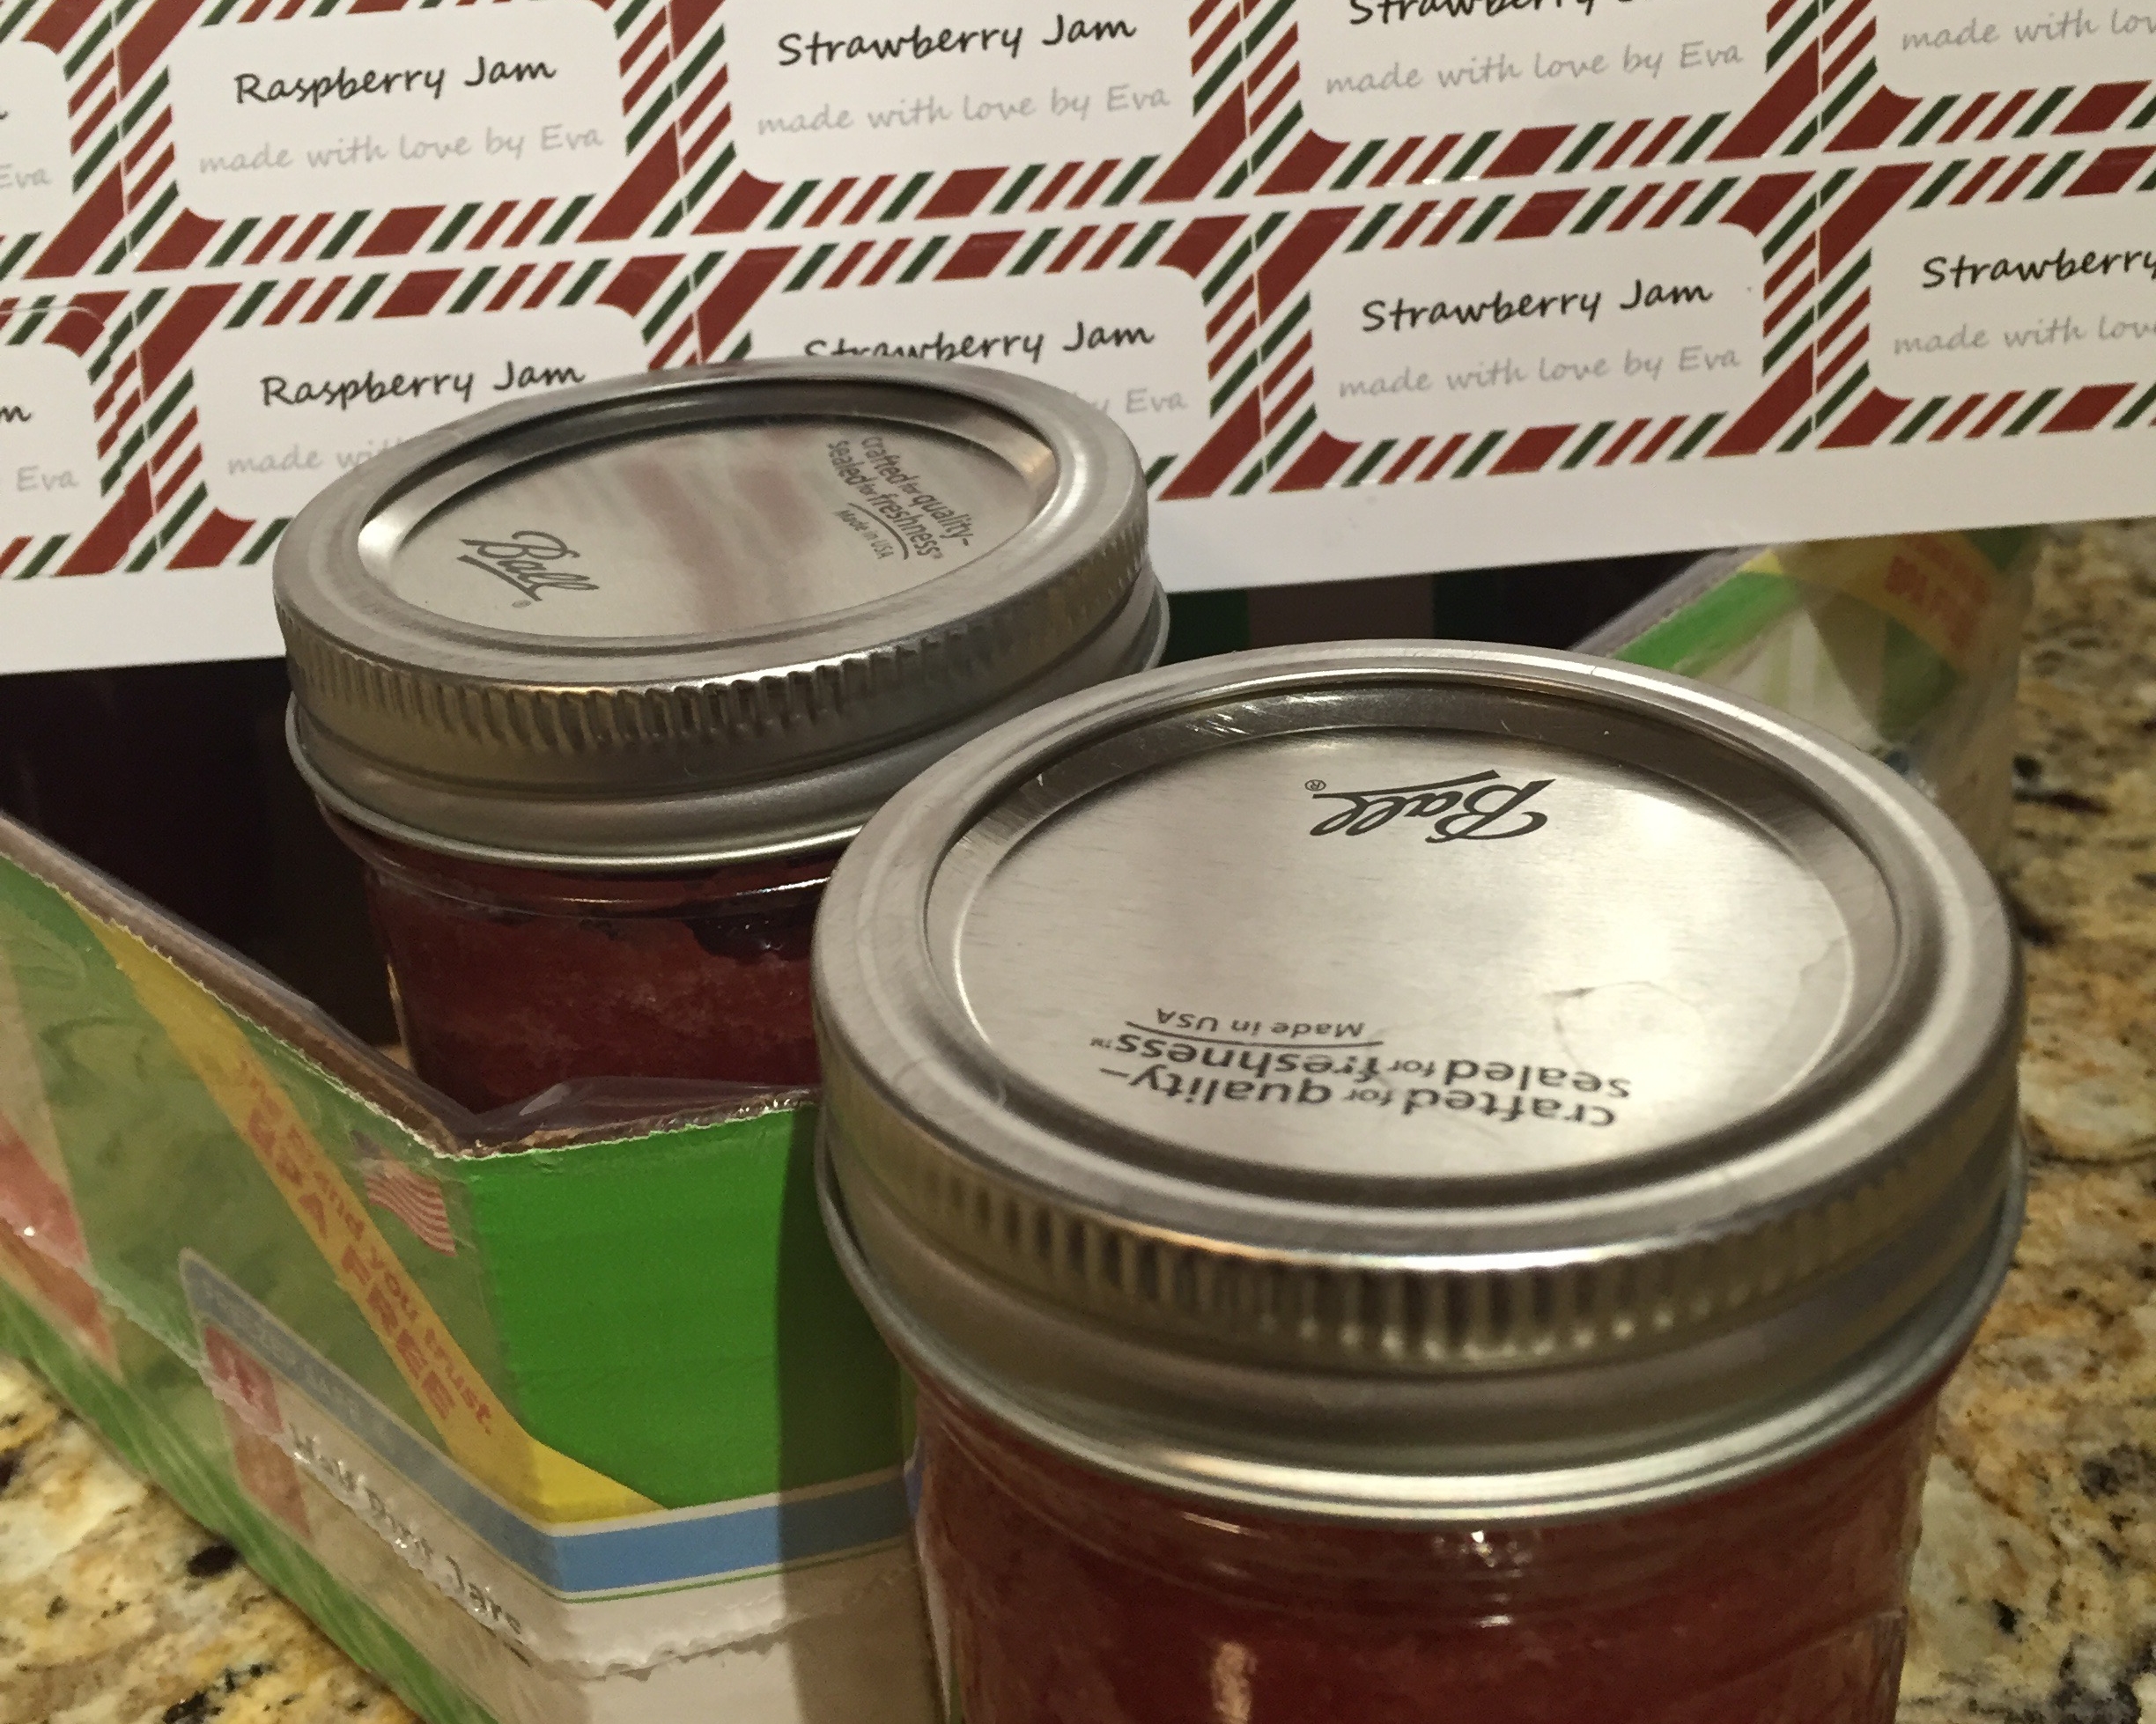
12. 貼上標籤寫上製造日期 - 一般封罐過的果醬可以在陰暗的地方保存一年。開封後必須要冰到冰箱,可保存一到三個禮拜。若表面發霉請丟棄整罐果醬。
Apply labels with batch date - a processed jar can be stored for up to 1 year at a cool and dark place. Once open, it can stay fresh in a refrigerator for about 1 to 3 weeks. If mold is found on jam surface, dispose of whole jar.